
No products in the cart.
Planning your Horse stable? Get the Stable Building Site Prep Checklist
Good site preparation sets the foundation for a strong and long-lasting stable. Learn how compacted bases, drainage, airflow and smart planning make DIY stable builds straightforward and durable.
Stable Buying Guides
247
Stables Built this yr
100%
Australian steel
2022
Local since 2022
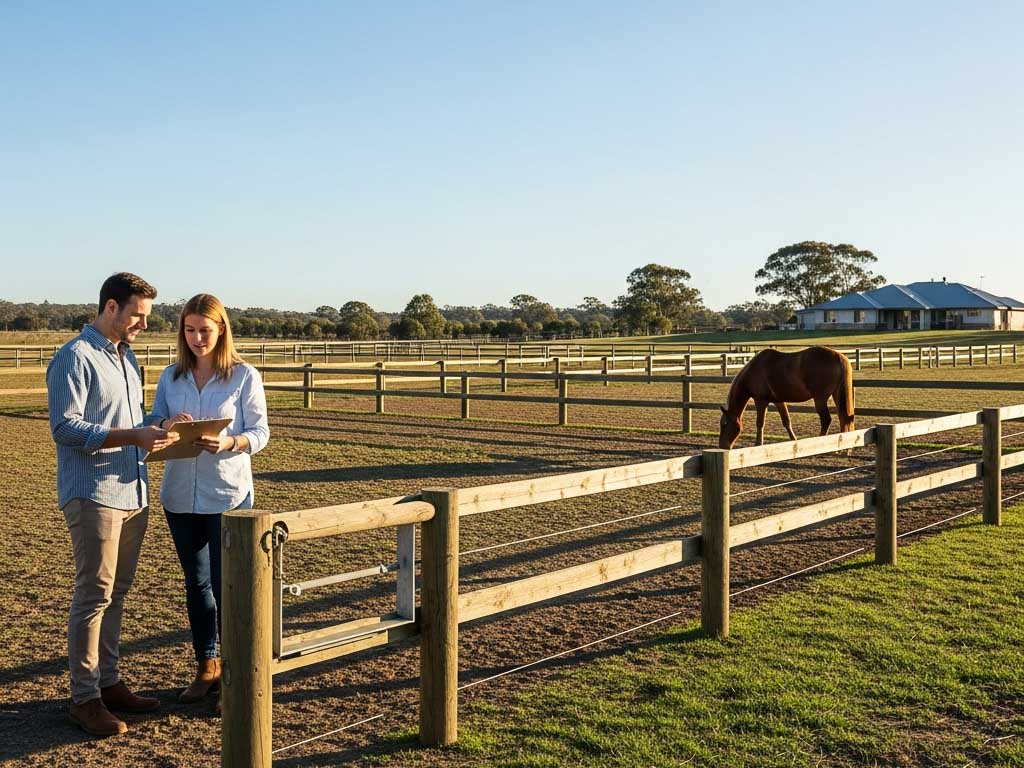
Uneven ground, poor drainage, or wrong layout can ruin your stables. Here’s how to prep your site right
Why Proper Stable Site Prep Matters
You’re probably thinking about size, airflow, or tack room options, not dirt. But proper site prep is what makes or breaks a good, stable build. It’s not just about pouring concrete or levelling dirt. It’s about getting a safe, dry, and solid foundation so your horses, gear, and structure stay protected for years.
We’ve seen it too often, especially with DIY builds and low-quality import stables, that have been slapped on soft or uneven ground. Six months later, the doors don’t shut properly, water’s pooling inside, and the whole structure starts shifting.
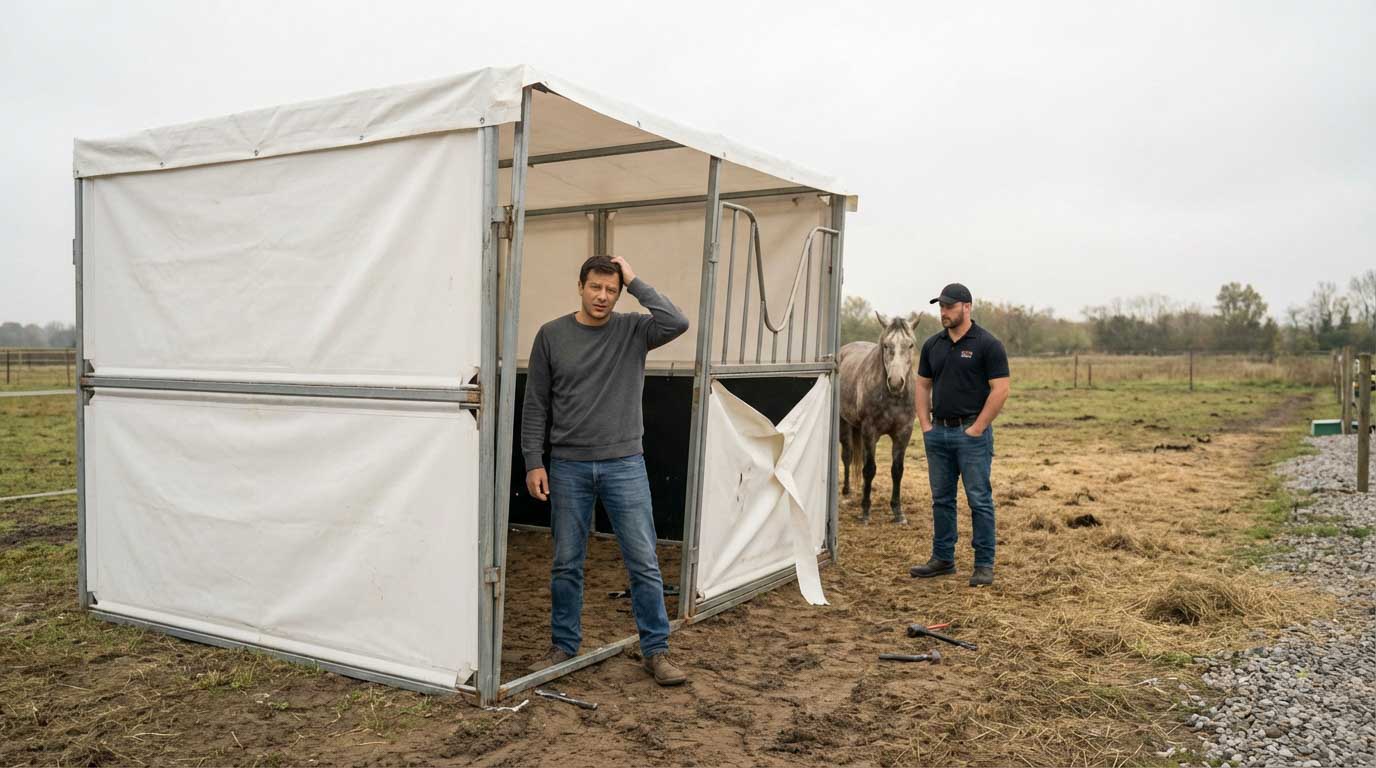
It’s 30% of the job, but it solves 90% of future problems. Here’s what good prep actually does:
- Keeps your stable level and secure
- Prevents drainage headaches and boggy floors
- Makes delivery and install faster
- Helps your stable last longer
Step-by-Step Site Prep Process
Step 1: Pick the Right Spot
Choose a spot that’s:
- Easy to access by delivery truck or trailer
- Not in the lowest part of your paddock or flood-prone
- Clear of overhanging trees, roots, or large rocks
- Facing away from harsh winds (if possible)
Allow for at least 1m clearance around the stable, especially under the 900mm roof overhang we include as standard.
Step 2: Mark Out the Area
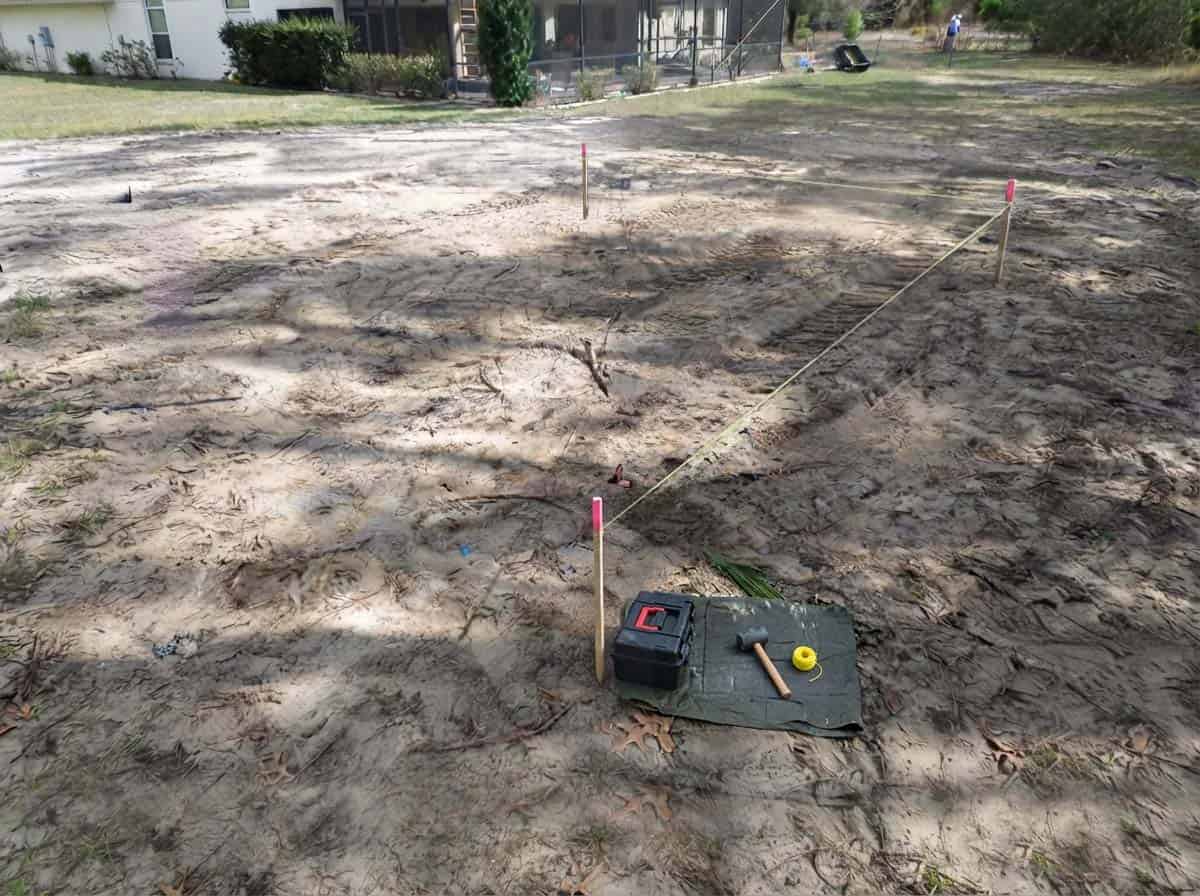
A 4x4m stable with overhang needs at least a 6x6m cleared pad to allow for build space. You’re not just marking the stable footprint, you’re also planning for access, walkways, adding a tack room or washbay (now or later) and how your riding and workflow will feel once it is built.
Step 3: Clear and Level
Every property is different and not every stable needs to go on a hard base. We’ve installed units straight onto flat grassed paddocks where owners wanted a more temporary or flexible solution. That said, for most builds, we recommend a firm, compacted base. It keeps the structure stable, prevents movement over time, and makes drainage easier to manage.
| Full Site Prep | Grass Install |
|---|---|
| Strip off topsoil, grass, and organics | Make sure it’s level, firm, and not waterlogged |
| Remove roots, debris, and soft fill | Avoid low-lying or flood-prone areas |
| Level and compact using road base, gravel, or crusher dust | Expect some natural settling over time |
Even on grass, adding a gravel border around the edges can help keep mud down and improve drainage.
Step 4: Choose Your Base and Anchors
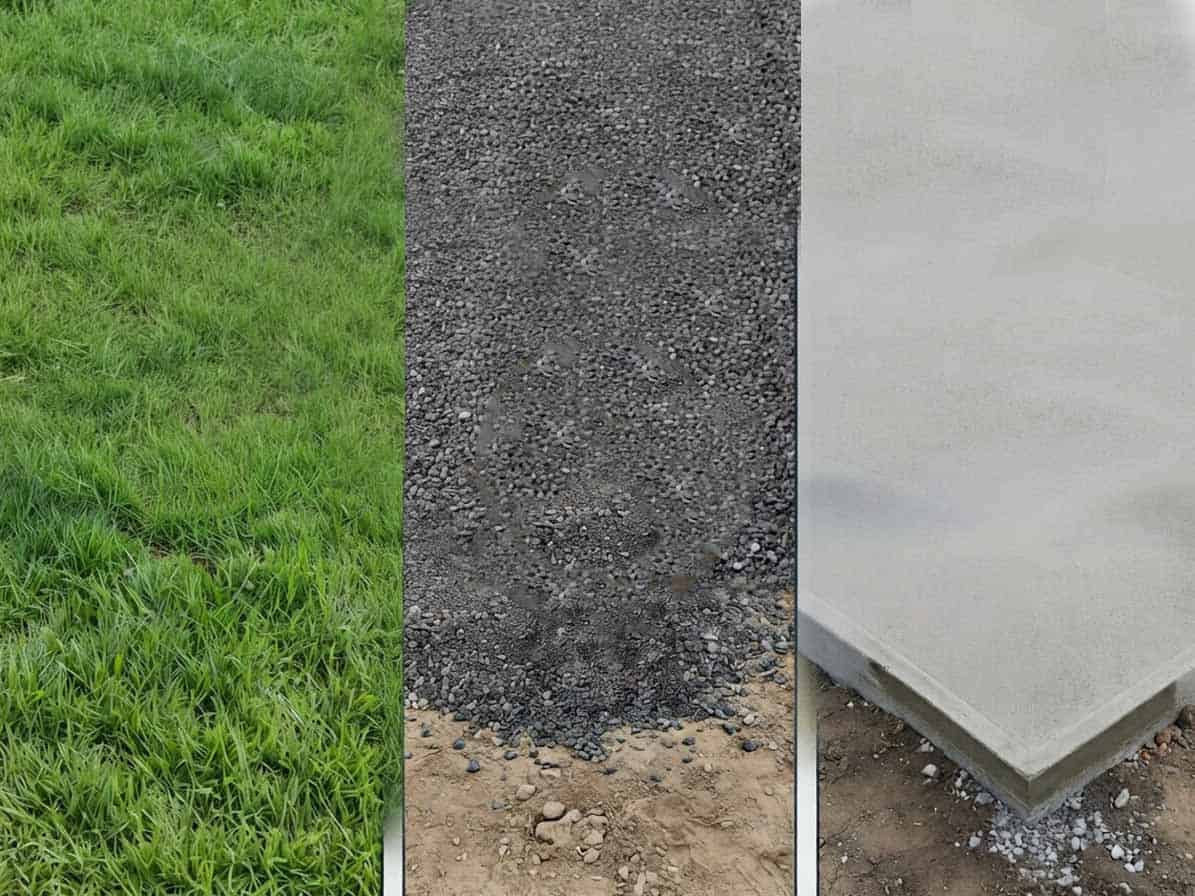
The majority of Guerilla Steel stables go on compacted road base. In the Beaudesert Multi Stable Project we finished last month, we installed on road base. This choice saved the client thousands compared with concrete, and it’s still solid as a rock. We also build on:
- Concrete slabs – for high traffic, wash bays, or where you want a super-clean floor
- Raised gravel pads – for wet or flood-prone zones
- Grass – fine for lighter use, provided it’s firm, level and not prone to bogging.
- Existing flat concrete – if you already have a strong slab, we can build straight on it.
Drainage – The Silent Workhorse
Stable site prep is all about where the water goes. Avoid building in a natural basin. Even a well-compacted pad can’t fight gravity in a downpour. Slope your pad slightly, 1–2% to allow rain to run off. If you’re on a slope, consider:
- French drains around the site
- A retaining edge with ag pipe
- Extra gravel layers to protect footing
Plan for Power, Water & Access
If you’re adding a tack room later, make sure you leave the space now. Don’t forget to plan access before install. Consider:
- Water pipes or tanks for drinking/wash bay
- Power conduit for lights or electric fencing
- Trenches that need to go under the pad
- Where you’ll store gear or feed
Weather and Timing
Once your base is compacted, we recommend 2 to 4 days of dry weather before we roll in with your stable build. Best time for site prep? Dry season. Here’s why:
- Wet soil doesn’t compact properly
- Machines can churn up clay into a mess
- Rain delays everything, including delivery
Real-World Example: Modular 4-Bay in Toowoomba
In March 2025, we completed a multi-bay welded steel stable system for a working property in regional Queensland. Each bay measured 4 × 5 m, installed on a compacted dirt base with a gentle incline for natural drainage. The design remains fully portable, allowing the structure to be relocated or reinstalled on a concrete slab later if required.
Total build time: 1 day from delivery to final bolt-down.
Result: a rock-solid, low-maintenance structure that still looks brand-new after months of heavy daily use, proof that smart design and fully welded frames stand the test of real farm life.
Do It Right the First Time
If you’re investing in a high-quality steel stable, don’t compromise on the ground beneath it. A properly prepared site means a stable that lasts longer, performs better, and protects your investment for years to come. Do it once. Do it properly and set yourself up for a stronger build from the ground up. Learn more about DIY Planning Setup here.
Ready to see how our stables are built to the same standard?
If you have any Stable Buying Questions or want something custom, Give Morgan a call on 0405 538 413, email guerillasteel@gmail.com
Download Your Free Stable Buying Guide
- Questions to ask your stable builder
- Stable system specifications
- Quote planner
700 downloads · last download 2 hrs ago
↳ Free Download
No spam — just expert tips, offers, and updates from your local stable builders. View our Privacy Policy.